


How to wash, store and care for fabric wall graphics?
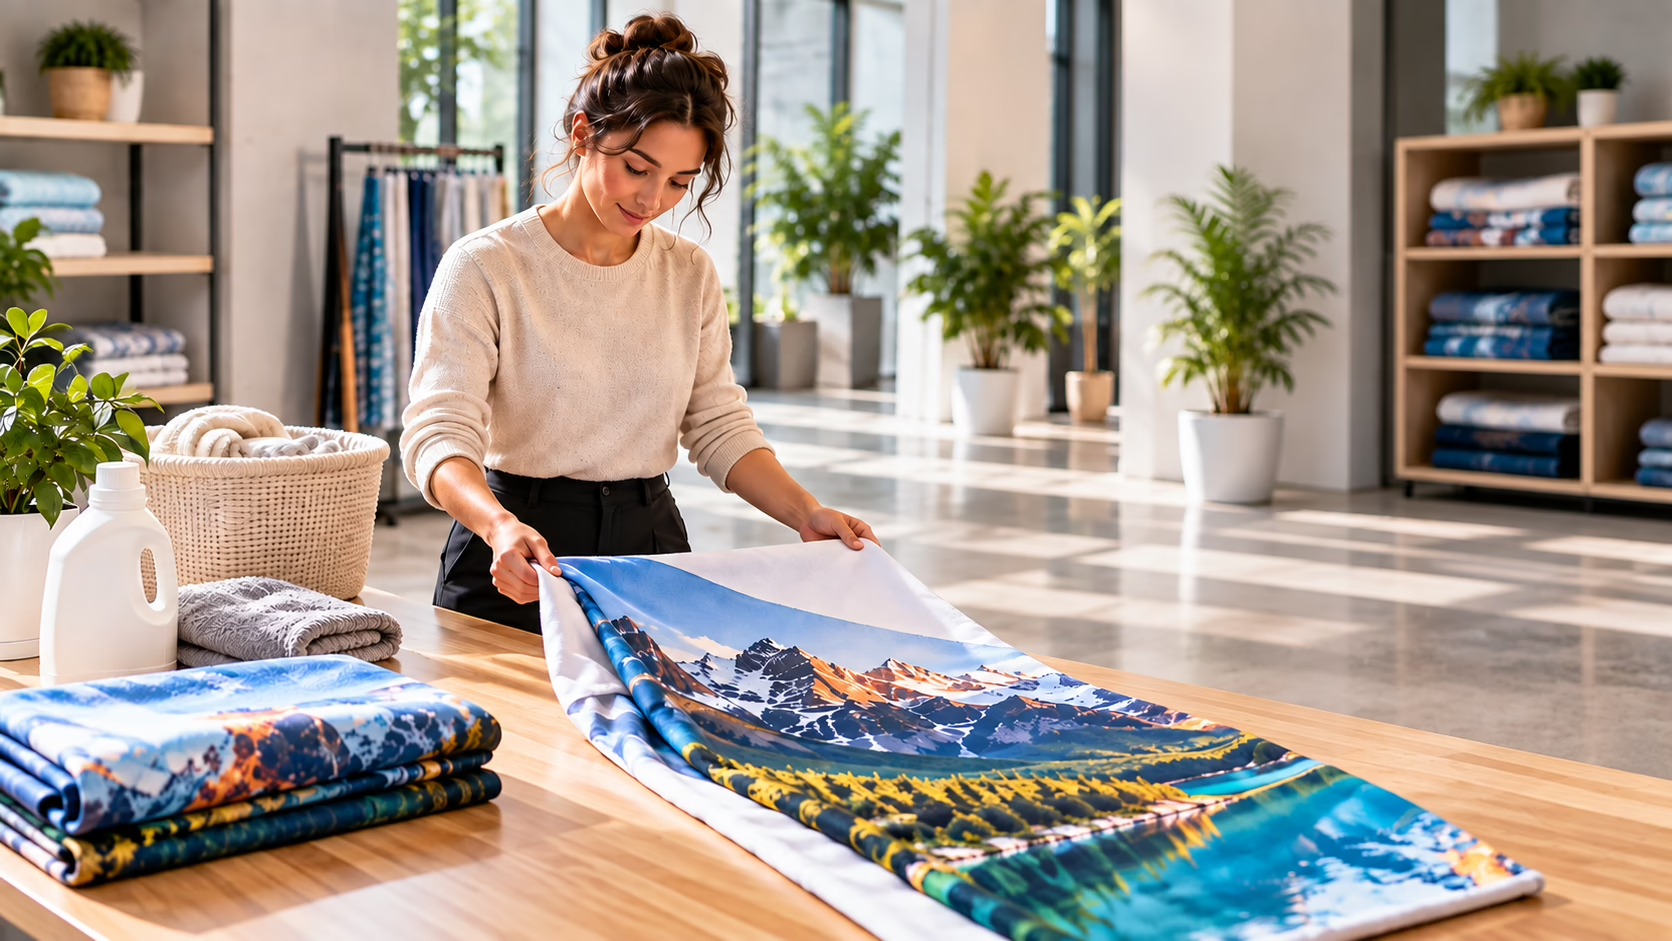
A fabric graphic can serve at many trade shows, conferences and presentations. But it must be cleaned, dried and packed properly. One wrong wash cycle can distort the material, weaken the print or damage the sewn-in zip or silicone edging.
How do you wash a fabric wall to limit that risk? First identify the type of fabric and how it is fixed. Also check the instructions supplied with the specific product. Recommendations for a graphic pulled over a frame like a cover may differ from those for material intended for a backlit LED system.
Can every fabric wall graphic be washed?
Don't assume every printed fabric can go in a washing machine. Materials differ in composition, type of print, edge finish and fixing method. The presence of a zip, Velcro or silicone edging sewn around the edge also matters.
Before cleaning, find the care instructions supplied with the product. If you don't have them, contact the supplier and give the system name and order number. Don't base your decision only on how the fabric looks.
In TUBE systems the graphic usually resembles a fitted cover. It is pulled over the frame and closed, most often at the bottom edge. This is how the following works, for example: Atlantis Straight – TUBE fabric wall. A similar way of fitting the graphic is used by the Atlantis Curved TUBE wall, but its shape requires especially careful folding and refitting.
In backlit light boxes the fabric is often finished with silicone edging pressed into the profile. An example of this solution is the LED BOX™ 2.0 with print. Don't automatically apply rules meant for TUBE graphics to material from an LED system.
How do you wash a fabric wall step by step?
You don't, of course, wash the wall structure. You only clean the removed graphic. The aluminium frame, plastic parts and cables need separate care.
1. Inspect the material before taking it down
Take a photo of the correctly fitted graphic. It will make refitting the cover the right way round easier. Check where the zip is, the top and bottom markings and any panel joins.
Inspect the fabric in good light. Mark the dirty spots. Also check the seams, corners, silicone edging and zip. If any element is coming away from the material, washing can make the damage worse.
2. Remove the graphic without tugging
Unzip it fully or pull the silicone edging out of the profile, starting at a corner. Don't pull on the middle of the fabric. For a large format, ask a second person to help. The material shouldn't touch the floor, sharp edges or dirty parts of the stand.
Before removing the graphic from a backlit system, disconnect the power. The LED structure itself must not come into contact with water.
3. Remove dust and loose dirt
Lay the graphic out on a clean, dry surface. Remove dust with a soft fabric brush or a clean cloth. You can also gently shake the material out. Don't use a stiff brush, which can cause pilling.
If the only problem is dust, a full wash may not be necessary. Limiting the number of wash cycles reduces wear on the print, seams and fixings.
4. Test on an inconspicuous area
Before using a cleaning product, test it at the bottom edge or on the inside. Use a small amount. Once dry, check that the colour hasn't changed and the surface hasn't become rough or shiny.
5. Choose a method that follows the instructions
If the manufacturer allows machine washing, use a delicate programme. Use a mild detergent. Protect the zip as the product instructions say, and wash the graphic on its own. Don't add bleach or harsh stain removers.
If you don't have confirmation that machine washing is allowed, don't experiment. Spot cleaning or gentle hand washing may be safer, but that method too must suit the material and print.
Hand wash, machine wash or spot clean?
| Method | When to consider it? | What to watch out for? |
|---|---|---|
| Spot cleaning | For a single fresh stain or a mark from touching | Don't rub hard or spread the dirt over a larger area |
| Hand washing | When the instructions allow it and the graphic needs freshening up | Don't wring the material or leave it in water for long |
| Machine washing | Only when the manufacturer or supplier allows it | Choose a delicate programme, a mild detergent and a way to protect the fixings |
| Professional cleaning | For large stains, no instructions or a graphic that is hard to replace before the event | Say that it is a fabric with a large-format print |
How do you remove stains from a fabric graphic?
Time is the most important thing. Fresh dirt is usually easier to remove than a dried stain. But don't start by rubbing hard. That can work the dirt in deeper and change the look of the surface.
- Dust and grime: remove them dry with a soft brush or a clean cloth.
- Water and clear drinks: dab with an absorbent white cloth. Don't spread the stain sideways.
- Coffee, juice or food: remove the excess without pressing it into the fabric. Then use a method allowed in the instructions.
- Greasy marks: don't use a random solvent. It may damage the print or leave a discoloured ring.
- Ink and marker: don't use alcohol or acetone without confirmation. Such products can permanently change the graphic's colours.
Use white materials for blotting. A coloured cloth can stain the print when damp. Also avoid rough-textured towels.
How do you dry the graphic after washing?
After washing, don't wring the graphic. Let the water drain, then lay the material out or hang it as the manufacturer recommends. Make sure it is evenly supported. Heavy, wet fabric hung from one point can stretch.
Don't pack the graphic even if it is only slightly damp. Closing it in a bag restricts airflow and may cause an unpleasant smell, water marks or surface changes.
Avoid drying it next to a radiator or in strong sunlight for long. Don't use a tumble dryer unless the instructions clearly allow it. Heat can affect the fabric, print, zip or silicone edging.
What do you do about creases?
First fit the completely dry graphic on the frame. The tension of the system often reduces small folds. Do this well in advance, not a few minutes before the stand opens.
Don't put a hot iron directly on the print. If the instructions allow ironing or steaming, start on an inconspicuous area and take care. Seams, zips and silicone edging need special attention.
With backlit systems even a small crease can be more visible once the light is on. This applies to solutions such as the LUNIX™ modular LED system. That's why light box graphics are best transported and stored in a way that limits sharp folds.
How do you store a fabric wall graphic?
Before packing, make sure the material is clean and completely dry. Remove sand, staples, cable ties and other sharp objects from the bag. Don't store the graphic together with dirty structural parts.
Match the packing method to the type of print. Some graphics can be loosely folded, others are better rolled on a core of suitable width. If the supplier provided specific instructions or transport packaging, use them at every event.
Safe storage rules
- Don't press the graphic under heavy crates or stand parts.
- Don't make many sharp folds in the same place.
- Protect the zip, Velcro and silicone edging from snagging.
- Store the material in a dry, clean place, away from heat sources and sunlight.
- Label the packaging with the system name, size and graphic side.
- Don't use airtight film to pack material that isn't completely dry.
If you handle several events, add a simple check card to the packaging. Record the date of use, any stains and minor damage noticed. That way the next person won't set up a dirty graphic right before a conference.
Caring for the frame and system parts
The graphic is only one part of the wall. Before packing, wipe the frame with a soft, dry or slightly damp cloth. Don't use abrasives. Check the connectors, transport locks and feet.
With an LED system, disconnect the power first. Don't spray liquid directly onto profiles, light modules, cables or connectors. If you notice damage to a cable or electrical part, don't switch on the system until it has been checked.
Checking the graphic before the next event
Don't leave the check until assembly day. Unpack the wall earlier and do a trial assembly. Check:
- that the print is clean and even,
- that the material doesn't smell damp,
- that the seams and corners aren't torn,
- that the zip works along its full length,
- that the silicone edging isn't coming away from the fabric,
- that the graphic sits correctly on the frame,
- that all frame parts are there.
Such a check gives you time to clean again, repair or order a new print. It's especially important when the graphic includes an event date, contact details or information about a specific campaign.
FAQ: washing and caring for a fabric wall
Can a fabric graphic be machine washed?
Only if the instructions for the specific product allow it. Check the type of fabric, print and fixing. If there is no information, contact the supplier.
How do you wash a fabric wall with a zip?
First check the recommendations for the zip and the whole graphic. Don't machine wash the product just because the material looks like ordinary fabric. The zip may need protecting.
Can you iron the print on a wall graphic?
Don't put an iron directly on the print. Only iron or steam if the instructions allow it. Test it on a hidden area first.
Is it better to fold or roll the graphic?
That depends on the material, the finish and the supplier's recommendations. Rolling can limit sharp folds, but it needs a clean core and large enough packaging. Don't fold the silicone edging or zips.
How often should a fabric graphic be washed?
There is no single schedule for all walls. Clean the graphic when it is dirty, dusty or stained. After each event, inspect it and start with the least invasive method.
Summary
The answer to how to wash a fabric wall always starts with identifying the material and checking the instructions. Remove the graphic carefully. First remove dust, test the cleaning product and don't use harsh products. After cleaning, dry the print thoroughly. Pack it without sharp folds and away from dirty structural parts.
If you are choosing a new wall or want to match a system to frequent travel, contact Maxi Expo. We'll help you choose a solution for the type of event, the space available, how it's transported and your budget. For 12 years we have served customers across Poland, supplying display systems and large-format printing with transport. Thanks to ongoing cooperation with print houses, standard orders usually take 2 to 5 working days.