



Installing a fabric wall and lightbox: the most common mistakes
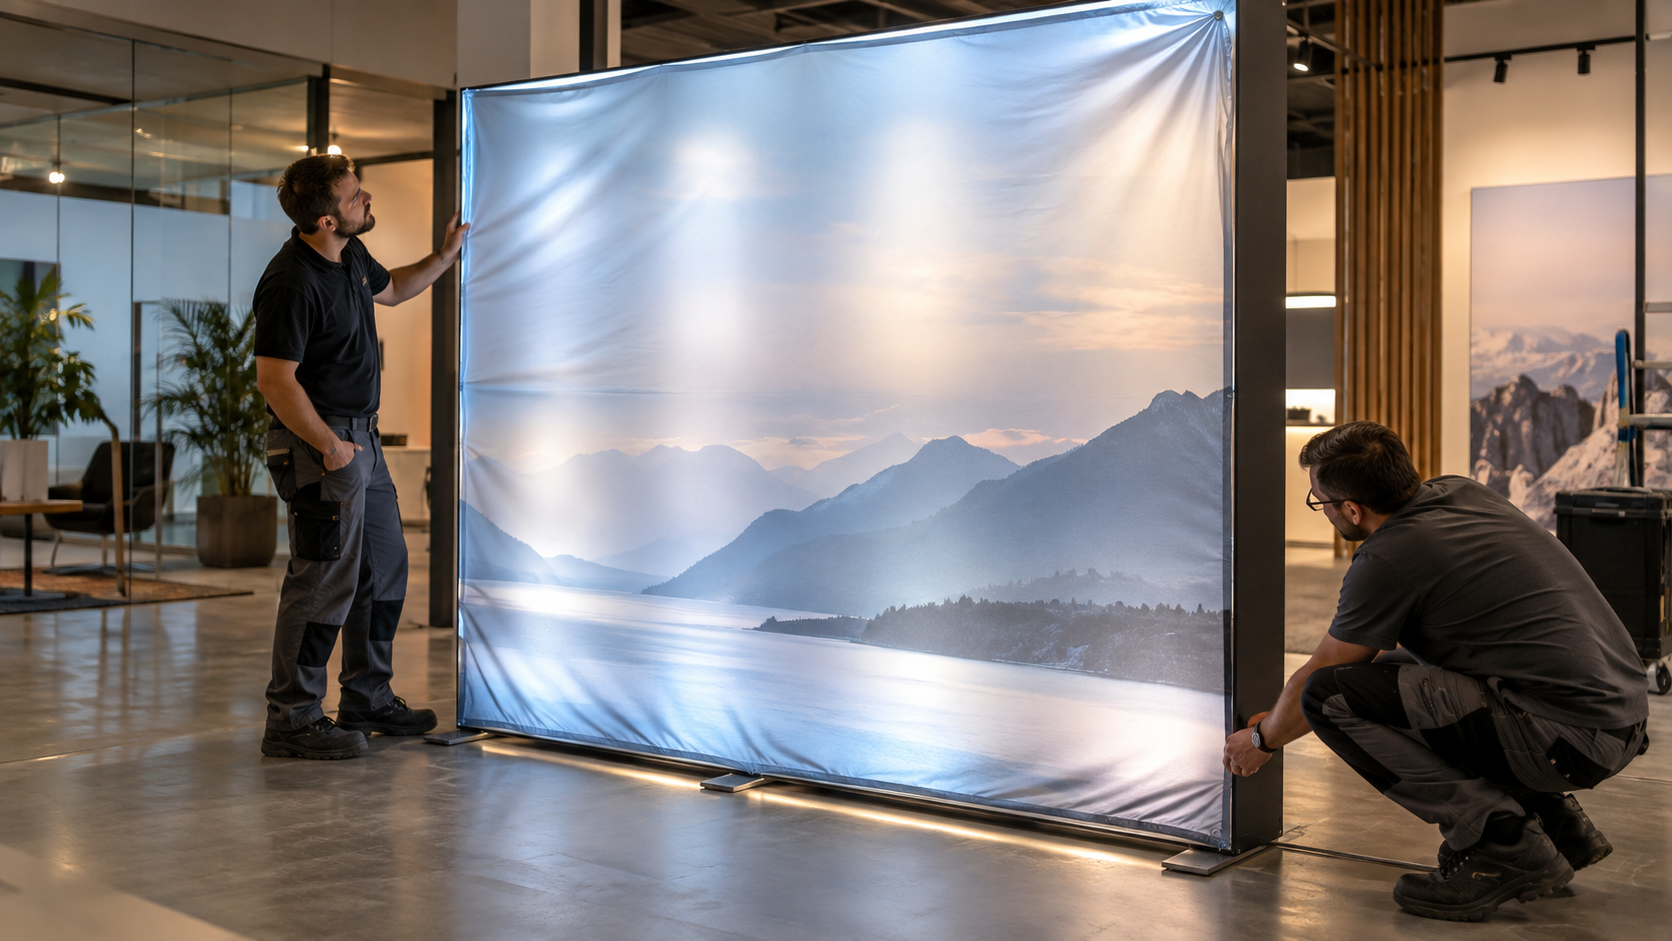
Assembling a fabric wall often looks simple: lay out the parts, join the frame and fit the print. In practice a small mistake can cause creases in the graphic, a skewed frame or stability problems. Light boxes also have cables, a power supply and backlighting that need checking before the frame is closed.
Preparing the parts, following the right assembly order and dismantling carefully will help you set up the system faster and reduce the risk of damaging the frame or the print.
Why can simple assembly cause problems?
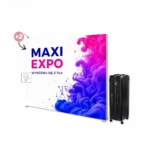
Display systems are designed for repeated use. However, individual models are assembled in different ways. An SEG graphic with silicone edging is fitted differently from fabric pulled over a frame like a cover, and differently again from a magnetic pop-up system.
The differences also apply to bases, stabilising feet, corners and how profiles are joined. So don't carry the assembly order over from one model to another. Even if frames look similar, they may have different locks and joints.
Typical symptoms help you spot an assembly mistake:
| Mistake | Typical symptom | What to do? |
|---|---|---|
| Incorrectly joined frame | The frame is skewed or wobbles | Check the part markings and press the joints home as per the instructions |
| Wrong order of fitting the graphic | The material creases at the edge | Remove part of the print and tension it gradually |
| Graphic fitted the wrong way | The print is upside down or shifted | Before assembly, find the top, bottom and outer side |
| No backlight test | The problem only shows after the print is fitted | Check the lighting before closing the light box |
| Feet set incorrectly | The wall becomes unstable when lightly touched | Set the bases in the direction shown by the manufacturer |
What to check before starting assembly?
Prepare enough space
Don't set up the system in a narrow walkway or right next to other stands. Profiles can be long, and the graphic shouldn't touch a dirty floor. You need room to lay out all the parts and turn the frame freely.
Also check the room height, the position of lighting, access to sockets and the walkways. The wall must not block doors or hide elements the event organiser needs access to.
Check all parts are there
Before assembly, take all the parts out of the packaging and compare them with the instructions. Check for profiles, corners, feet, connectors, cables, power supply and lighting. If parts have letter or number markings, lay them out in assembly order.
Don't throw away films, spacers and labelled bags straight away. You may need them for dismantling and transport later.
Check the file and the finished print
You can't fix a design mistake by stretching the fabric harder. A logo placed too close to the edge may be partly wrapped round, and small text can be hard to read from the aisle. Before ordering the print, check the required format, bleed, scale and safe margins.
You'll find more tips in the guide on how to prepare a graphic design for a display wall. Maxi Expo customers normally supply their own print file, so the final result depends on how that file is prepared.
The most common mistakes when assembling a fabric wall
Forcing profiles together
If two parts don't fit, don't press them with your full weight. First check their markings and orientation. The profile may be turned round or the catch may be set wrong.
Using too much force can bend a connector or damage the locking mechanism. Correctly aligned parts should join without hammering.
Fitting the graphic before setting up the frame
First assemble the whole frame and check it is straight. Only then fit the material. If you assemble the frame while stretching the print, it is hard to control the tension and the fabric can get dirty.
The exception is systems whose instructions specify a different order. Always follow the documentation for the specific model.
Starting to fit the graphic from one side
With SEG graphics a common mistake is pushing the whole silicone edge into one side and then moving on to the other edges. The tension is then uneven. As a result the last corner is hard to seat and diagonal folds appear on the surface.
It is usually better to start with the corners, then fix the middle sections and gradually fill the gaps between them. Don't pull on the fabric itself. Push the silicone edge in with your fingers or the tool designed for the system.
Mixing up the top and bottom of the print
Before lifting the frame, unroll the graphic and find reference points: the logo, text, product photo or a sewn-in label. Removing a large print just because it was fitted upside down takes time and increases the risk of dirt.
Touching the graphic with dirty hands
Marks from assembly are especially visible on white and light surfaces. Wash and dry your hands. Don't put the print on the floor. You can lay down a clean protective film or a fabric sheet.
If you change your layout often, choose a system whose handling suits the conditions at your events. You'll find the available models in the category fabric display walls.
Feet set incorrectly
The bases are responsible for the stability of the whole frame. They shouldn't be placed at random or stick out into the walkway where people can trip over them. Check in the instructions whether they should point perpendicular to the frame or be fitted at specific points.
Also check the floor. On an uneven surface the frame may stand differently than on a flat hall floor. Once set up, gently check stability, but don't lean on the wall.
Mistakes when assembling an LED fabric light box
Connecting the power while assembling the frame
First join the frame and lighting parts as per the instructions. Connect the power only when the cables are properly routed and the connections checked. Don't change anything while the device is connected to the mains.
If a cable, plug or power supply is damaged, don't switch on the light box. Don't make makeshift repairs with tape or a random replacement. If in doubt, contact the system supplier or a suitably qualified person.
No test before fitting the graphic
After assembling the frame, do a quick lighting test. Check that all modules or strips work and that the cables aren't under tension. If you fit the graphic before testing and something doesn't work, you'll have to take it off.
A cable pinched by a profile or base
The cable must not pass through a profile joint or under a part that crushes it. Route it along the intended path. Leave enough slack so it doesn't pull the plug out, but don't leave a loop sticking out into the walkway.
Uneven tension on a backlit graphic
Light shows up folds, twisted silicone edging and dirt that may be less visible on a regular wall. After fitting the print, step back a few paces and look at the light box from the front. If you see a diagonal crease, adjust the nearest edge instead of stretching the whole material.
Assembling a large build needs a plan
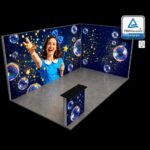
A single wall is different from a set of many frames, counters and lighting elements. For a larger stand, first mark out its outline. Then assemble the structure in the order set by the design. Leave access to the places where modules need joining or cables routing.
Light frames and SEG graphics are used, for example, by the Fastframe™ 12 m² exhibition stand. In such a set the order of work affects not only the look of one wall but also the position of the counter, lighting and walkways on the stand.
Maxi Expo offers on-site assembly for smaller projects, such as a single wall or counter. This service doesn't cover large exhibition builds. For a larger system, plan your own crew and the time needed for unloading, sorting parts and assembly.
How do you dismantle and pack the system correctly?
Dismantle in reverse order. First disconnect the light box from the power. Then remove the graphic with clean hands, fold it as recommended for the material and protect it from dirt.
Don't jerk the corners or a section of fabric. With SEG graphics, remove the silicone edge gradually. Separate the profiles only after the print is off. Put each part in its assigned bag, case or compartment.
Before closing the packaging, count the connectors, feet and cables. Small parts are best kept in a labelled bag. That way you'll notice a missing part after the event, not during the next assembly.
A short checklist before the event opens
- The frame is complete, straight and properly locked.
- The feet stand on stable ground and don't stick out into the walkway.
- The graphic is fitted the right way round and evenly tensioned.
- Logos, text and photos aren't wrapped round the edges.
- Cables aren't pinched and don't lie in the walkway.
- The backlighting was tested before the graphic was fitted.
- Bags, packaging and spare parts are labelled and stored away.
- The frame doesn't block doors or elements specified by the organiser.
FAQ: assembling fabric walls and light boxes
Does assembling a fabric wall require tools?
It depends on the system. Many portable frames use catches and connectors that work without tools. Not every model is tool-free, though. Check the instructions and parts before you go.
How do you remove folds after fitting an SEG graphic?
Find the edge nearest the crease. Remove a section of the silicone edge and re-seat it, gradually evening out the tension. Don't try to remove the fold by pulling hard on the middle of the fabric.
Can you lay the graphic on the floor during assembly?
It's better to avoid this. A hall floor can be dusty even after cleaning. If you must lay the print out, use a clean film or protective sheet.
When should you check the light box backlighting?
After assembling the frame and connecting the parts correctly, but before fitting the graphic. This lets you find a problem quickly without removing the print again.
Can Maxi Expo supply a ready printed wall?
Yes. Maxi Expo prepares the system, large-format printing and transport. The customer normally supplies their own graphic design. Thanks to long-standing cooperation with large-format print houses, an order can take 2 to 5 working days, depending on the order and the correctness of the materials supplied.
Summary
Correct fabric wall assembly starts before the first profiles are joined. Check the space, the parts, the graphic orientation and the order of steps. With a light box, also check the cables and backlighting before fitting the print. Don't use excessive force, and don't try to correct a badly assembled frame by stretching the material harder.
For 12 years Maxi Expo has supplied display, exhibition and advertising systems across Poland. If you need a wall, a light box, a counter or a modular set, contact us. We'll help you choose a solution for the type of event, the available space, how often you set up and your planned budget.